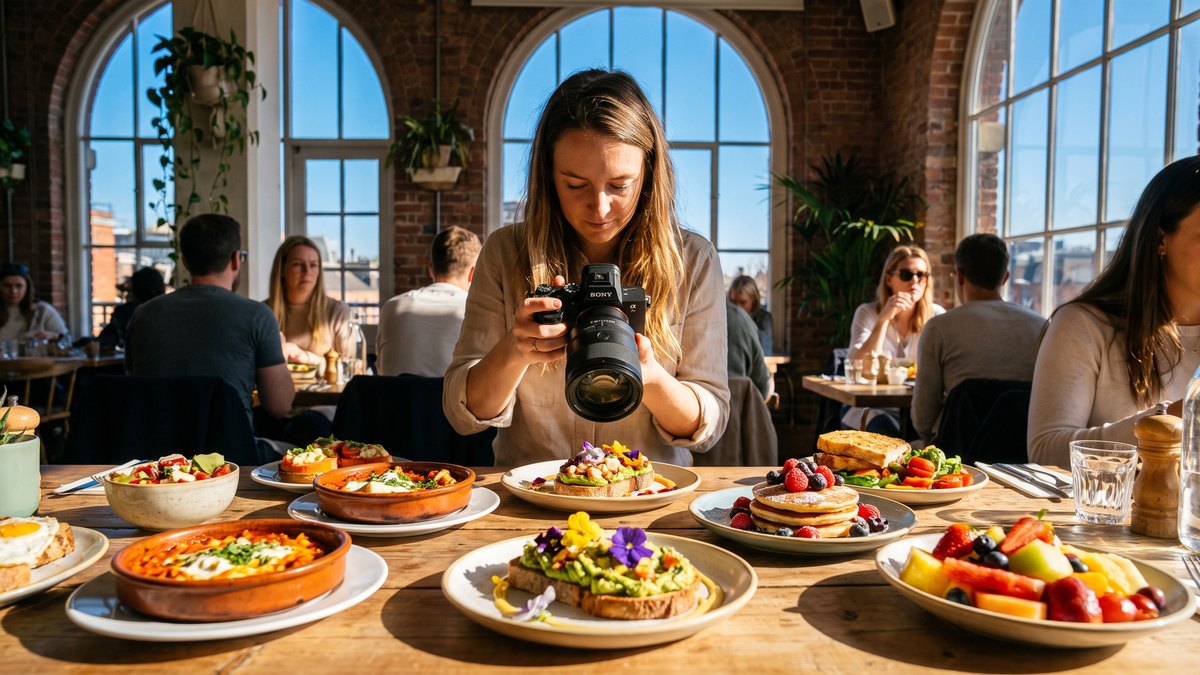
Two outputs, one shoot
A delivery app shows a dish as a square tile, about 40mm wide on a phone screen. A printed menu shows the same dish at roughly 60mm on uncoated stock, often boxed in tighter once a designer adds a price and a description. Both crop hard, and one photograph rarely survives both unless you plan the framing before the first shutter click.
Square crops take the centre of the frame. Fill the frame edge to edge with a burger for a tight, moody hero shot and the app cuts the top bun and half the plate. Print does the opposite kind of damage: the whole frame survives, but at 60mm the fine detail, the char on a steak, the crumb on a pastry, turns to mush. Shoot too tight and the app ruins it. Shoot too loose and print flattens it.
The answer isn’t either extreme. Shoot slightly wide of a tight crop, dish centred, with a clean margin of table or board around it. The app’s square crop takes the middle and keeps the plate whole. The designer gets room to drop the image into a box without losing an edge. One photograph, two jobs — which is the only way a single day in a venue pays for itself.
If you also want short vertical clips for social while the kit is set up, book them the same day. restaurant videography from £600 covers a handful of clips shot alongside the stills, and the reel formats for London restaurants piece covers which lengths and crops get the most views.
Angle, dish by dish
Not every dish wants the same angle, and shooting the whole menu from directly above is the most common shortcut I see go wrong. A flat top-down shot works for a pizza or a salad. It flattens a burger, a ramen bowl or anything with height, because the layers that make the dish look good disappear into a single flat shape.
| Dish | In a square app crop | At 60mm in print | Shoot from above or at 30 degrees |
|---|---|---|---|
| Burger | Flat angle loses the stack | Layers blur into a dark smear | 30 degrees, low |
| Ramen | Broth reads as a flat brown circle | Toppings vanish at small size | 30 degrees, toppings toward camera |
| Pizza | Crops cleanly, holds its shape | Detail survives even shrunk right down | Directly above |
| Salad | Reads as colour and texture only | Individual leaves blur together | Directly above, tight on colour |
| Steak on a board | Board edges get cut, steak still reads | Char and slice detail survive | 30 degrees |
| Curry in a copper pot | Pot rim frames the dish well | Colour matters more than fine detail | Directly above |
| Pasta | Sauce and shape read from above | Strands need side light to show texture | 30 degrees |
| Plated dessert | Height gets cropped from a square tile | Fine piping or tuiles disappear | 30 degrees, low |
| Wrap or sandwich | Needs the cut face toward camera | Filling needs contrast to read small | 30 degrees, cut face forward |
| Sharing platter | Too much in frame for a square crop | Individual items get lost entirely | Directly above, or split into two shots |
As a rule, height goes at an angle and flat food goes overhead. A sharing platter isn’t worth a single compromise angle. It’s worth two separate photographs, one for each output.
Backgrounds and keeping the grid consistent
Use one surface for the entire delivery-app set: a single board, a slate, a plain painted table, whatever suits the room. Every dish sitting on the same background is what makes a platform’s grid of thumbnails read as one restaurant rather than ten different kitchens. For the print set, I shoot on the restaurant’s own tables, because that image sits inside a physical menu the diner is holding at the table it was shot on.
Why one session beats two
Match white balance across the whole shoot and hold it there. The mistake I see most often is a menu photographed in two sittings months apart, half the dishes shot in June daylight through a west-facing window and half in November under tungsten because the light had already gone by 4pm. The grid on the app then looks patchy, warm dishes next to cold ones, and no amount of editing fully fixes it afterwards.
One session, one light setup, one afternoon. It is the cheapest way to keep thirty images looking like they came from the same kitchen.
What the platforms want
Every delivery platform wants roughly the same thing: bright, square, the dish filling the frame, minimal negative space. No logos, no branded crockery competing with the food, and no props creeping in at the edges of the frame where a square crop might grab them.
Specifications change. Pixel dimensions, file formats and minimum resolution get updated by platforms without much notice, and what was correct last year may not be this year. Check the current image specification on the platform itself before booking a shoot around it, rather than trusting a number from a blog post, including this one.
What does not change is the physics of a small bright square on a phone screen. Clean backgrounds and strong colour contrast read well at thumbnail size. Clutter doesn’t.
Print realities
Print behaves differently to a screen, and it catches people out. Reds shift when a file converts from RGB to CMYK for the press, sometimes turning a rare steak or a tomato sauce a shade darker or more orange than it looked on the back of the camera. Gloss stock holds colour punch; uncoated stock, which most menus use because it feels nicer in the hand, softens contrast and saturates less.
Talk to the designer before the shoot
Ask the designer what final size each image will print at and supply files at 300dpi for that size, not for the screen. A dish reproduced at 60mm needs enough resolution and clean framing to survive the crop. A file that looks sharp on a laptop can still print soft if it was shot for a screen-only use.
Speaking to the designer beforehand, not after the shoot, avoids reshoots. I have had to redo a set because nobody mentioned the menu would run at half the size I assumed.
Which dishes, and how many
Photograph the twenty best sellers, not the full menu. That covers what most diners actually order and keeps the shoot to a day a kitchen can run alongside service. A restaurant photography from £400 booking scales from a half day of twelve to eighteen dishes up to a full day of thirty to forty finished images at £850 to £1,200, which works out at £35 to £60 a dish. For how to brief the kitchen and time the plating around the shoot, see briefing a food photographer.
Two heroes, and the dishes to skip
Pick two dishes to be the heroes: the ones that go on the homepage, the app banner and the front of the printed menu. Everything else supports them. Some dishes never photograph well no matter how much time you spend on them:
- Dark stews and curries that lose all shape under hot lights
- Soup, which reads as a flat coloured circle from any angle
- Anything that melts, wilts or collapses in the ten minutes it takes to set a shot
- Dishes assembled tableside, which are gone before the camera is ready
None of that means skip them on the menu. It means the budget will not stretch to making soup look heroic when two other dishes already carry the menu.
Do not photograph every item on the menu
A photograph next to every single line makes a menu look like a motorway service station board, not a restaurant. It flattens the hierarchy. If everything is illustrated, nothing is recommended, and the dish you actually want people to order gets the same visual weight as a side of chips.
Full coverage is right in a narrower set of cases: a large multi-site delivery menu with forty near-identical variations, a bubble tea chain, or anywhere the photograph is genuinely the only information a customer has before ordering blind through an app. A neighbourhood restaurant with a printed menu and a till point staffed by someone who can answer a question does not need that.
I’d spend the budget saved by shooting twenty dishes instead of sixty on more time behind each of the two hero dishes, or on the empty-room interior set shot before service opens, which does more for a restaurant’s actual bookings than a photograph of the side salad ever will.
Tell me the venue name, the number of dishes and whether it is for print or for delivery apps, and book a menu shoot. I’ll come back within a working day with dates and a running order.